Defining Test Cases in Test Scenarios
In this section you will learn how to define test cases in a test scenario. You find information regarding the following topics:
-
Add test cases to a scenario
-
-
-
-
-
1. Add test cases to a test scenario
There are different ways to add test cases to a test scenario.
a) Via navigation bar
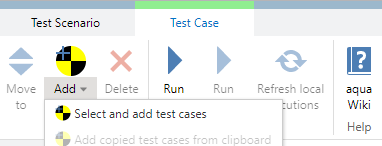
You can add test cases to a scenario via the navigation bar at the left side of an open test scenario. By clicking test cases the content switches to a new view that allows to specify test cases to be executed in the given test scenario. In the ribbon bar you find an add button.
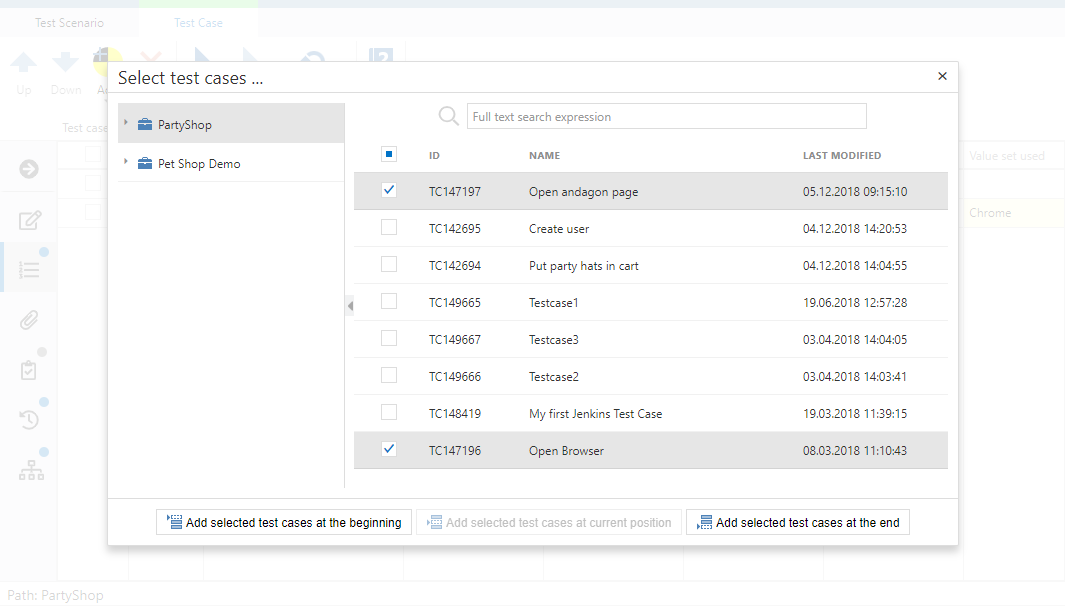
A dialogue opens in which you see all test cases in the project. You can either search for a specific test case or use one of your predefined filters. When you select a test case you can choose whether to add it at the beginning or at the end of the test scenario. After adding all desired test cases you can save your scenario.
The order of the test cases can be defined by the move to button.
Click it, and select the position by entering the corresponding index.
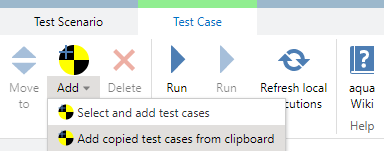
b) From clipboard
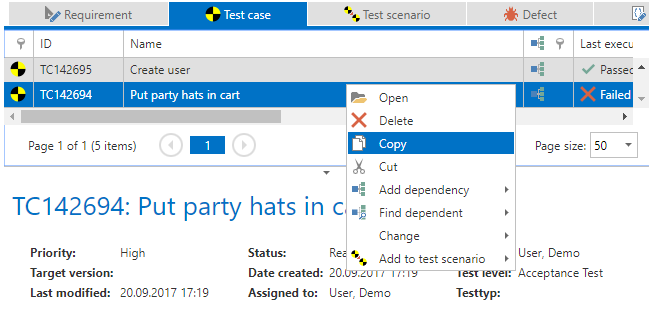
You can add test cases to a test scenario using your clipboard. To do so, create a new test scenario. Select a test case from the grid and copy it to the clipboard.
Now go back to the test scenario and select 'test cases' in the navigation bar. Click on the arrow below the 'Add' button and select 'Add copied test cases from clipboard' to insert the copied test cases.
c) Via context menu
Alternatively you can directly create a new test scenario by selecting a set of test cases in the element browser of the navigatio window. Then, right-click the selected ones and choose Create new test scenario.
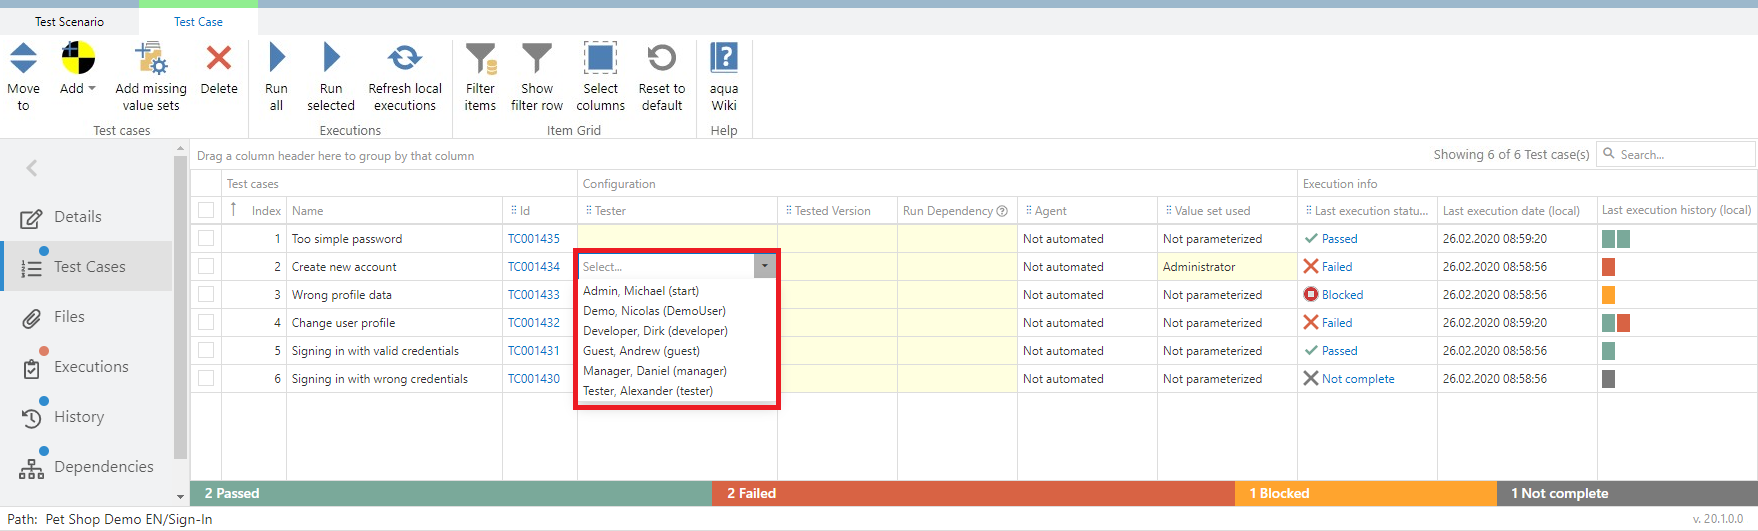
2. Assign testers
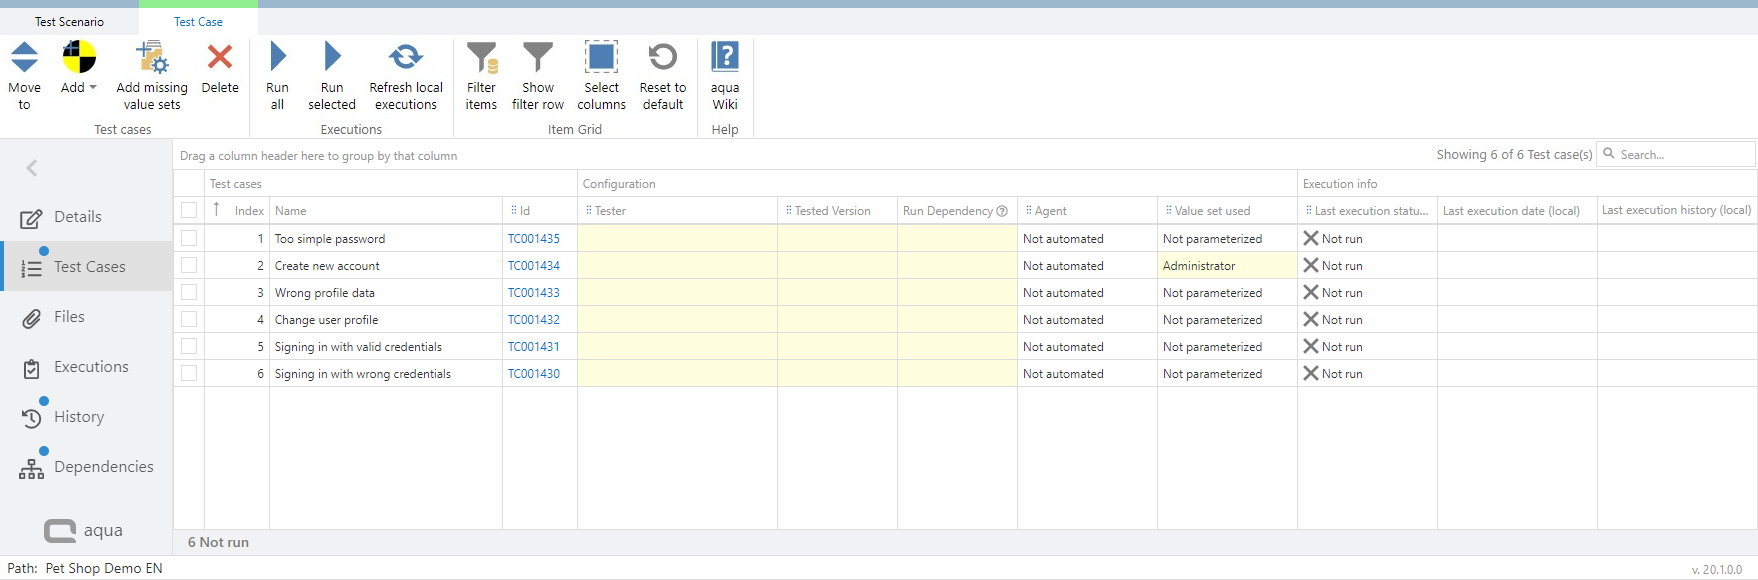
You can assign a tester to each test case in the context of the scenario. Please note, that you are not overwriting the assignee from the test case. In order to assign a tester to a test case in the scenario, click in the empty cell under the column 'Tester'. A dropdown will appear, where you can select a colleague, which is assigned to the current project. If the selected Tester corresponds to the current user, the name will be shown in bold.
3. Define run dependencies
After your test cases are added to the test scenario you can define a run dependency for your test cases. This is for example helpful, if one test case needs to be passed before the next one can be executed. This means that if a single test case failed, none of the other test cases should be executed. To do so add values to Run Dependency column in the test cases view within a test scenario.
There are two types of run dependencies: Soft dependencies and hard dependencies. Soft dependencies neglect the previous test result, e.g. first test case needs to be executed, before the second one can start (it does not matter if the test case is failed). When using hard dependencies the results are considered, e.g. the first test case needs to be passed, before the second one can start. For a soft dependency, just enter the index number of the test case, which the other test case should be dependent from. For a hard one, you need to enter an exclamation mark after the index number.
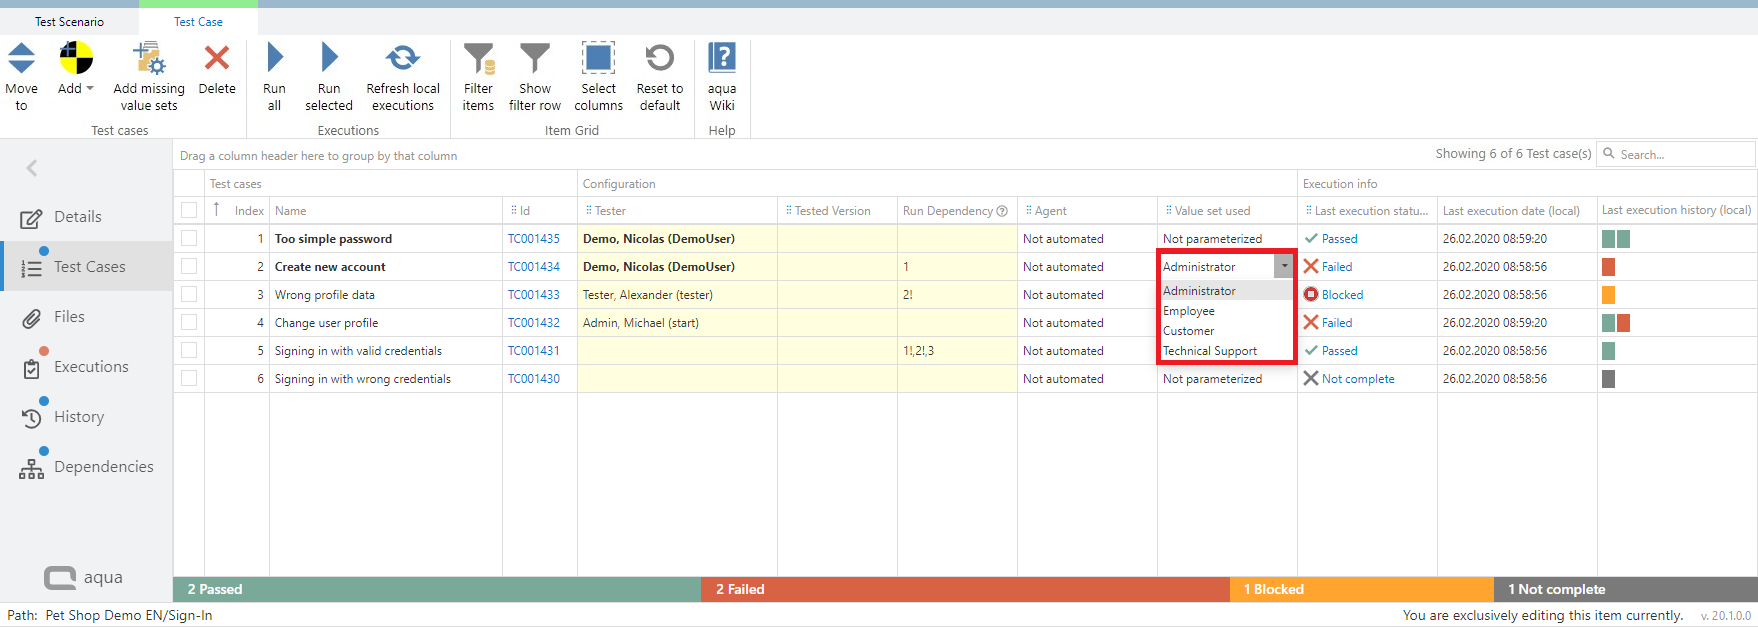
4. Define value sets
When a test case is parametrized, the default value set is automatically entered. You can also select one of the other value sets of the test case in the Value set column.
With the button 'Add missing value sets' all other variants of the test case can be added into the test scenario as individual test cases.
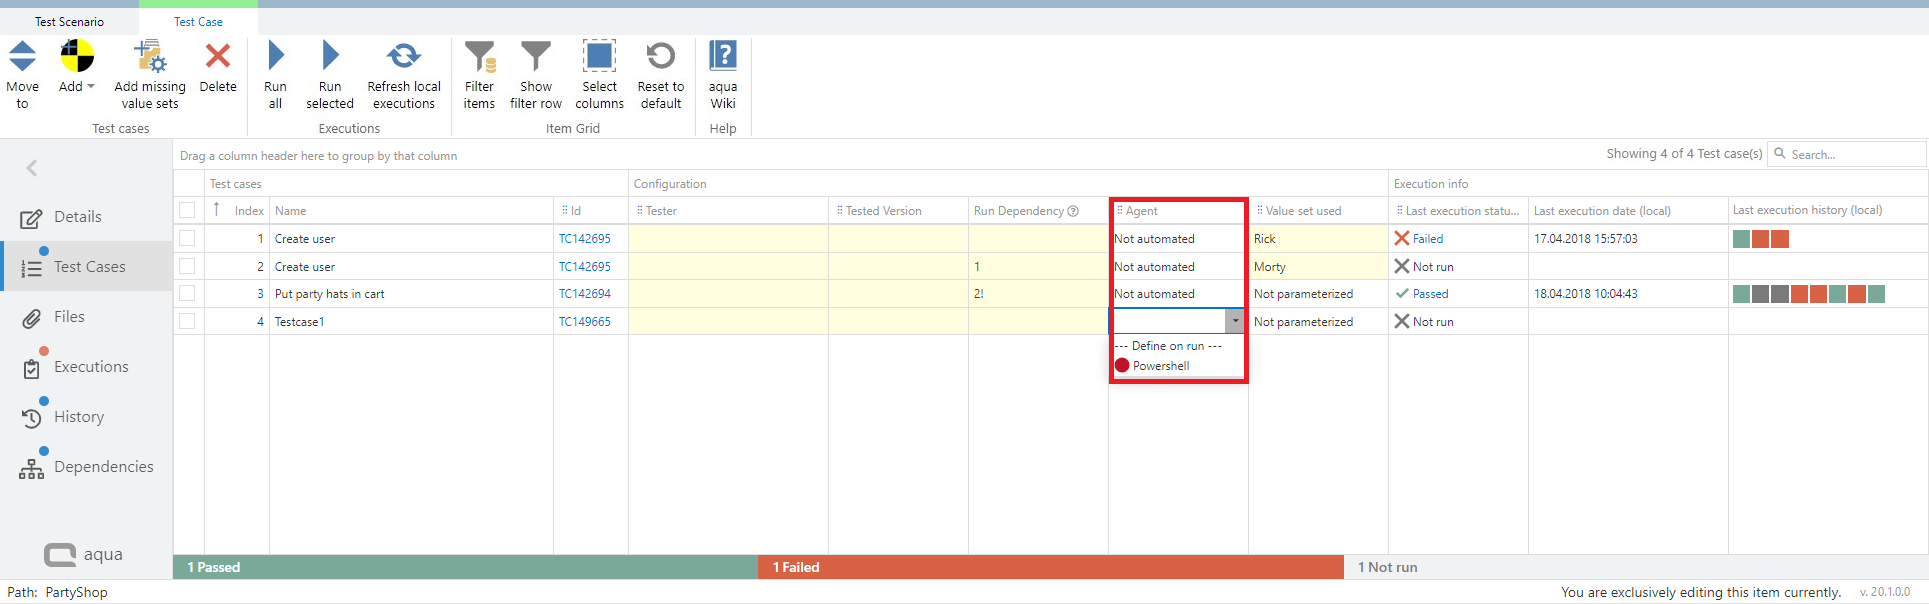
5. Define agents
If your test cases in the test scenario are automated you can define an agent for the execution directly in the test scenario. If you do not define an agent here, the agent will be assigned in the execution automatically. aqua allows you to only select an agent which supports the technology the test case is automated with. To define agents, click on 'Test Cases'. Here you find a column 'Agent'. When you click in the cell where you want to define an agent, a drop down appears where you can select the agent. The agent defined in the scenario will be always considered first.
6. Organize the view
To find your test cases in your scenario as fast as possible, you can customize the
view and sort, group or filter by any column as you are used to from the item grid. In addition, you can also group by one column by simply dragging and dropping it into the designated area.
You can also use the search field in the top right-hand corner to search and filter for text strings in the columns. The search applies not only to the Name column but also to the columns Id, Tester, Tested Version, Run Dependency, Agent, Value set used and Last execution status.