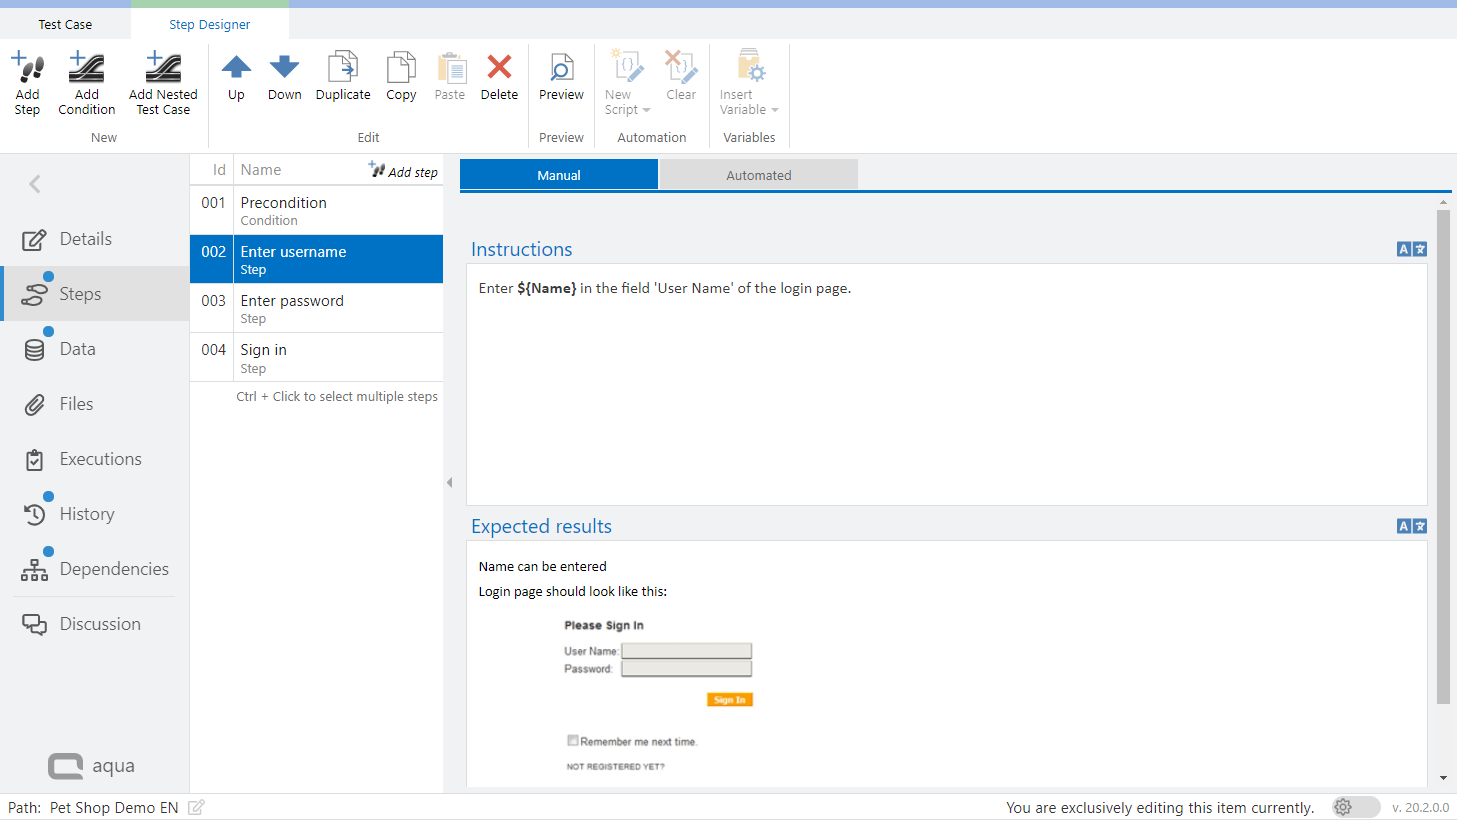
The step designer allows to create steps and conditions to create manual test steps. You can access the step planner by clicking on Steps in the navigation bar on the left side in a test case. A step consists of Index, Step type, Name, Instruction and Expected result. A valid test case requires at least one test step or one test condition.
With Add Step or Add condition you can create new steps and conditions. These can then be rearranged, deleted, duplicated or copied and pasted into another test case using the buttons in the ribbon bar. With the Ctrl key you can also select several steps to copy and paste them into another test case. In addition to steps you can also embed entire test cases as a Nested Test Case.
Conditions have an Instructions field that can be specified, and Steps have both an Instructions field and an Expected results field. These fields are rich text fields that can be formatted and screenshots or tables can be inserted just like the description fields of items. Below the input field, formatting buttons are displayed when you click inside the field. You can, for example, add a link or pictures or take a screenshot and edit and insert it.
To save the changes you can either click on Test Case at the top of the tab or go to Details in the navigation bar on the left and then click on Save or you can simply use the shortcut ctrl+s. In the Project Settings you can also define that the expected result is a mandatory field, i.e. it cannot be empty.
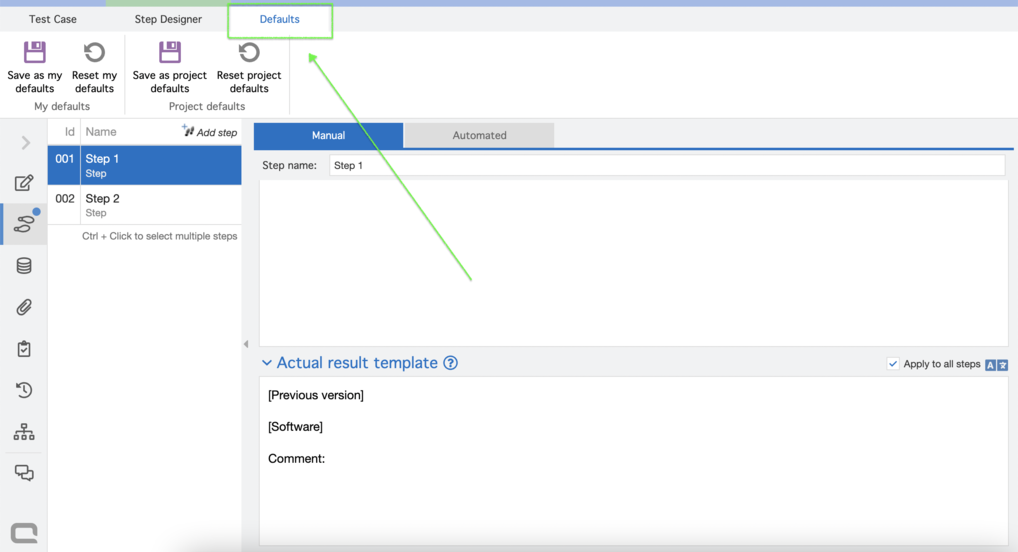
Actual result template
Define the default information that should always be included when the test execution starts. Navigate to the tab ‘Defaults’ and choose how you want it to be saved: as your personal setting or as a project setting. Each time you create a test case, your template will also include the actual result template. Start a test case execution, and the actual result will be pre populated for you.