Connection to Oracle Database 11g
Preparation
You will need an Oracle database. A "free" version (named "Express Edition") can be downloaded here:
Please note the following limitation on Oracle Express Editions: "Oracle Database XE can be installed on any size host machine with any number of CPUs (one database per machine), but XE will store up to 11GB of user data, use up to 1GB of memory, and use one CPU on the host machine."
Installing Oracle Database
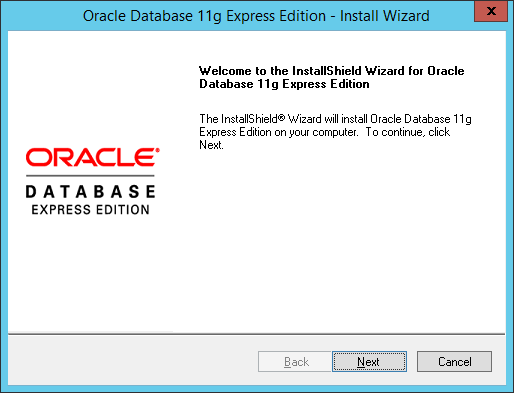
The first step is to install Oracle Database.
When downloaded, please start the installer program. Press Next, read the license agreement and accept it. Click Next again, choose the default path for the installation and click Next. Now enter the SYS Password, click on Next and finish the setup by clicking on Install.
Setting up a new Database
As part of your installation package, you have received a folder which contains multiple SQL scripts and a database dump. These are required to setup an initial database for aqua. To setup the database, you need the tools sqlplus, sqlldr and imp. Furthermore, you need the credentials for a database administrator account. For now, we assume that you are using the system account. To specify the database to connect to, we use the notation
@//oracle-server:1521/sid
Please replace the hostname and sid as required. When working locally on the database server, you can drop this part completely.
Open a command line window in the folder which contains the SQL scripts and the database dump.
Start sqlplus with the following command:
sqlplus system/yoursystempassword@//oracle-server:1521/sid
Start spooling the output to a log file by invoking the command:
SPOOL CreateDatabase.log;
Execute the script to create the database:
@CreateDatabase.sql;
If everything was fine (no errors) execute:
COMMIT;
SPOOL OFF;
and close sqlplus by typing:
EXIT
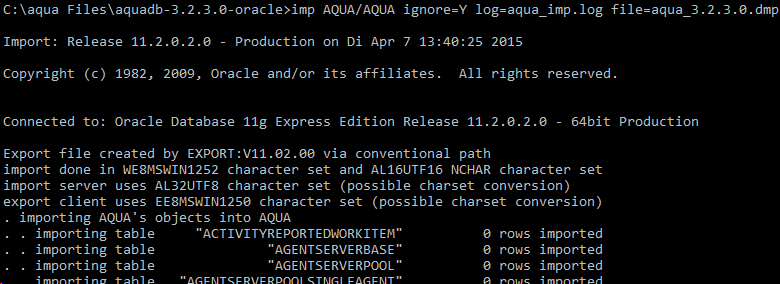
Now, we need to import a dump with the initial database. Enter the following command:
imp AQUA/AQUA@//oracle-server:1521/sid ignore=Y log=import.log file=aqua.dmp fromuser=AQUA touser=AQUA
Now, we need to apply additional scripts. Start sqlplus with the following command:
sqlplus AQUA/AQUA@//oracle-server:1521/sid
Start spooling the output to a log file by invoking the command:
SPOOL diff.log;
Execute the diff script by typing:
@Diff-Oracle-Base-to-"target version".sql;
Then execute UpdateAccounts.sql and UpdateLicense.sql in the same way as the diff script. If everything was fine (no errors) execute:
COMMIT;
SPOOL OFF;
and close sqlplus by typing:
EXIT
Unzip the .zip file BlobData.zip in a folder of your choice. Open a command line window and switch to this folder of your choice. Execute the following command (please replace parameters accordingly):
oracle-diff-loader.bat <ORACLE_USER> <ORACLE_PASSWORD> <ORACLE_INSTANCE> <WORK_PATH> <OLD_PATH>
When you are using the defaults used in this guide, the command looks like this:
oracle-diff-loader.bat AQUA AQUA //oracle-server:1521/sid . .
When you are working locally on the database server, the command looks like this:
oracle-diff-loader.bat AQUA AQUA sid . .
After that, the generated SQL script must be applied. Start sqlplus with the following command:
sqlplus AQUA/AQUA@//oracle-server:1521/sid
Start spooling the output to a log file by invoking the command:
SPOOL blobdatasql.log;
Execute the generated SQL script by typing:
@oracle_diff-loader.sql;
If everything was fine (no errors) execute:
COMMIT;
SPOOL OFF;
and close sqlplus by typing:
EXIT
Your aqua Database is now installed.
Install aqua Client
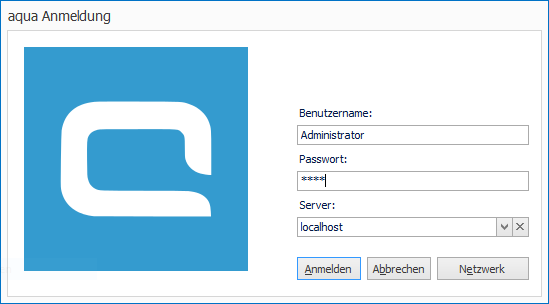
Finally, you can install your aqua client by installing and aqua.msi and starting the client. The default login data is as follows:
Username: Administrator
Password: AQUA
Server: localhost
Your aqua system should be ready to use!