Requirement coverage
The ‘Requirement coverage’ status appears when at least one test case or test scenario is
added to the requirement as a dependency.
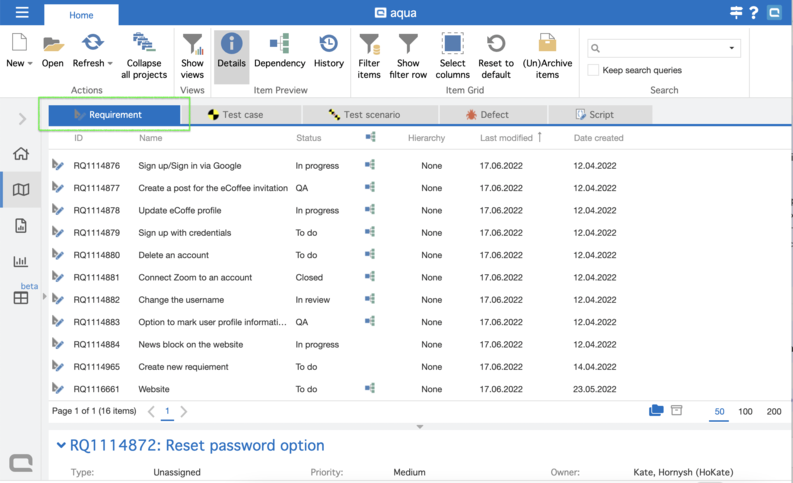
Step 1: Open the ‘Requirements’ navigation page.
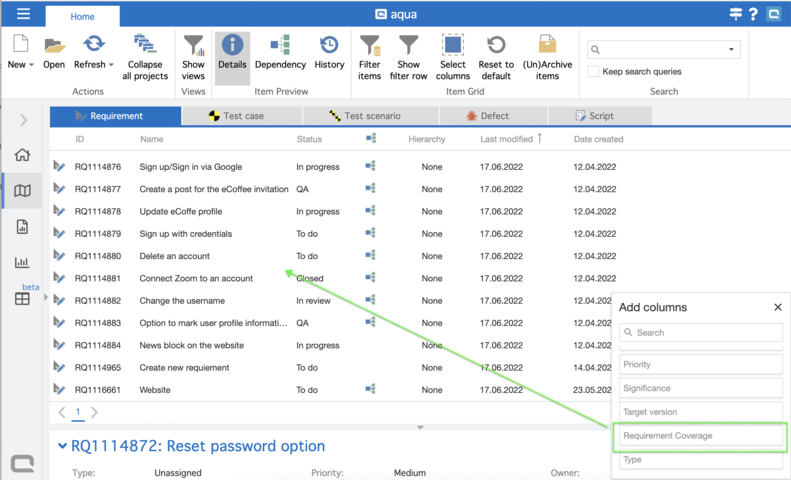
Step 2: On the project ribbon, click the button ‘Select columns’.
Step 3: Choose the ‘Requirement coverage’ option from the column chooser pop-up and
drag it to the requirements grid.
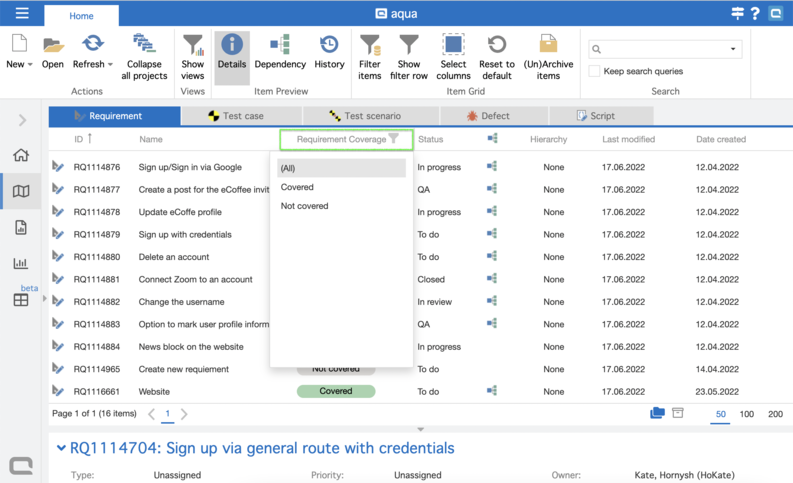
Step 4: Hover the column ‘Requirement coverage’ and click on the ‘Filter’ icon. When the
dropdown with the status appears, choose the value by which you would like to filter the
items on the grid.
Step 5: If you want to group your requirements on the grid by a ‘Requirement coverage’
status, then right-click on the ‘Requirement coverage’ column and choose the option
‘Group by this column’ from the context menu. The items will be distributed between the
groups ‘Covered’ and ‘Not covered’.
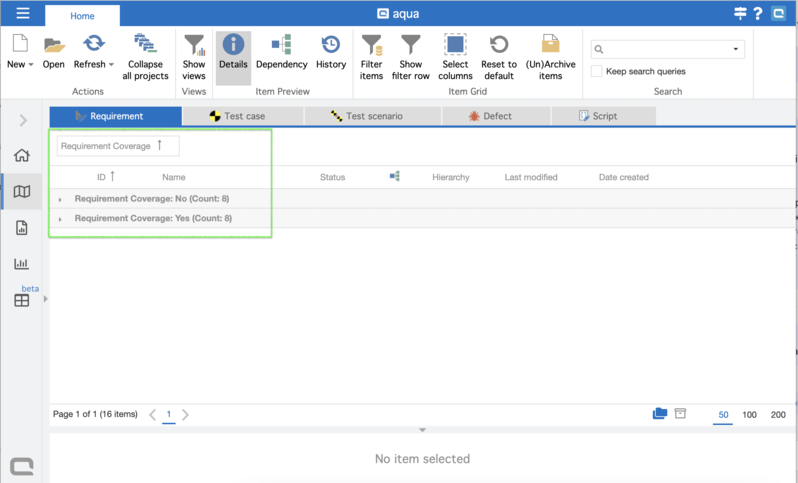
Step 6: To view requirements that fall into a certain group, just click to expand the set.
Click again to collapse it.