Create sync
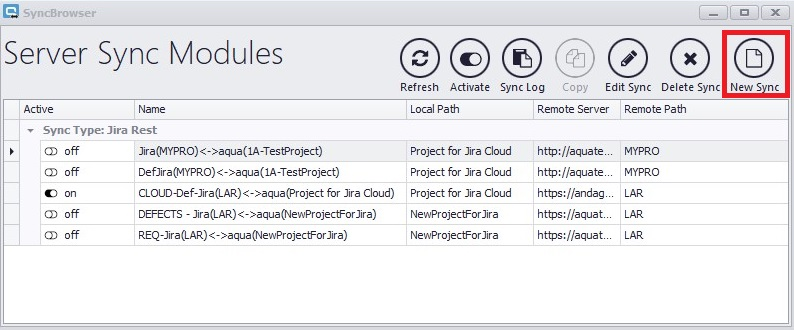
To create a new sync, click on New sync in the SyncConfigurator.
A window will open, where you have to select the sync's type.
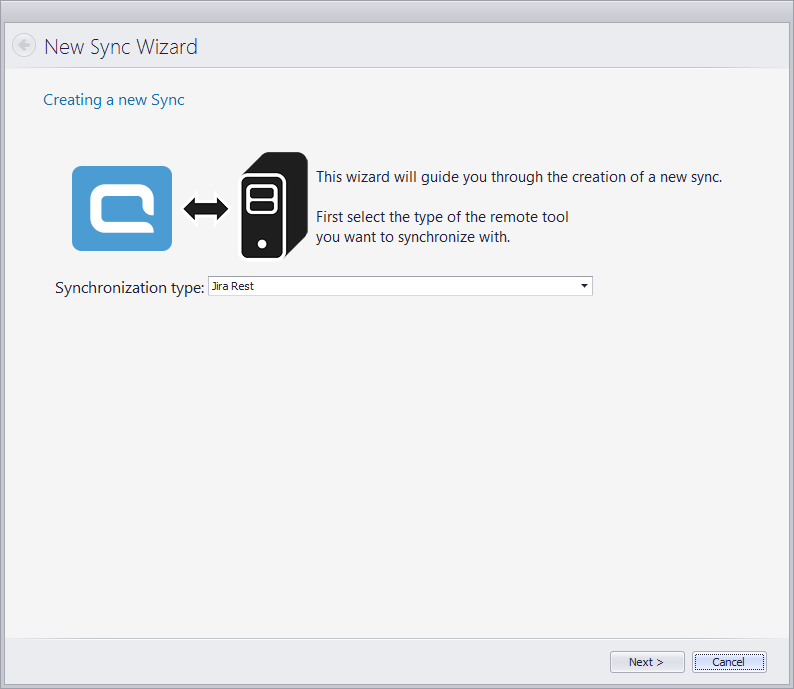
Usually, you will only have the option to select Jira Rest. To create a Jira Sync, select Jira Rest. Click on Next.
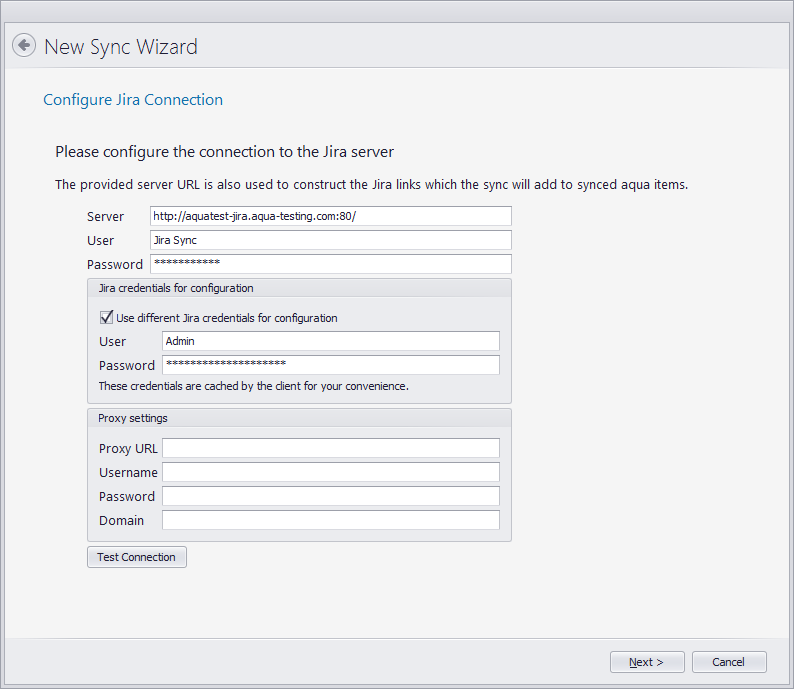
Enter your connection data to the Jira server. You have different options which users you would like to use. In this example, we have a User 'Jira Sync' which will handle the synchronization itself. Additionally, we checked the box Use different Jira credentials for configuration.
Note when using Jira Cloud: a separate API password, also called API token, must be created so that the Jira user can log in via the REST API. This can be configured at the following URL: https://id.atlassian.com/manage-profile/security/api-tokens
In this case you need to use the API password as password of the user.
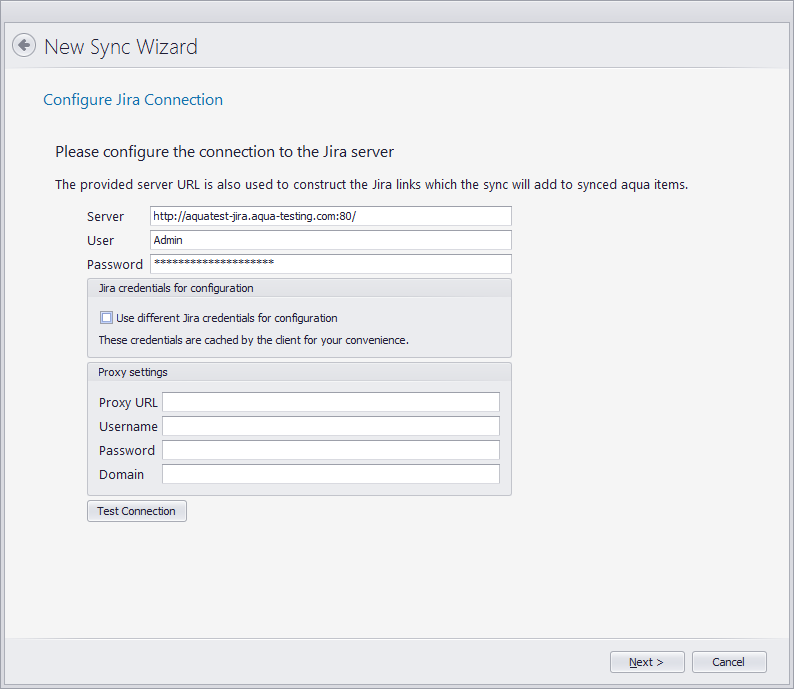
This is an example using only the admin user. The checkbox is not checked. This is also a valid way to configure your sync. If you use a proxy, please enter the proxy information below. Click on Test Connection to check if you entered everything correctly.
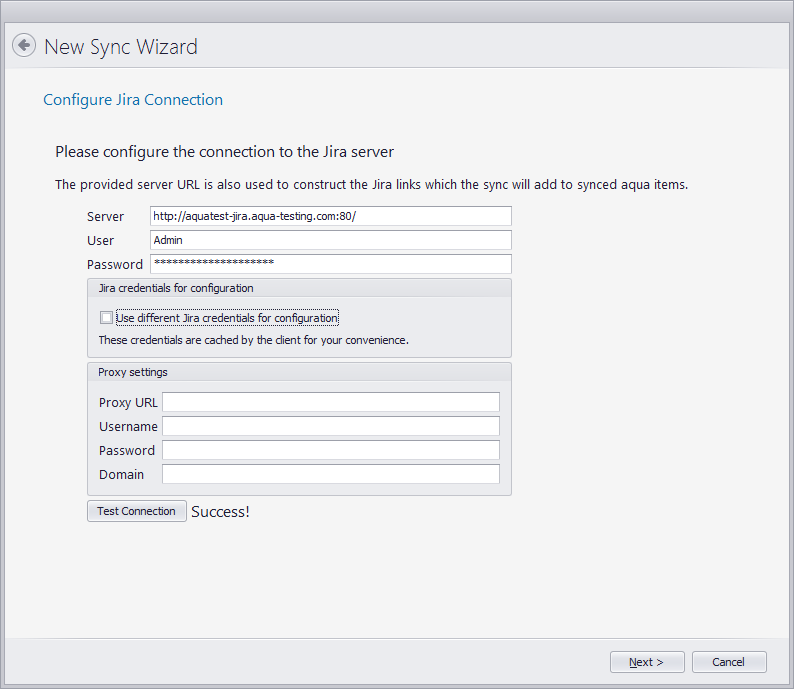
If you see 'Success!', everything is correct and you can click on Next. If you do not see 'Success' here, please see this topic.
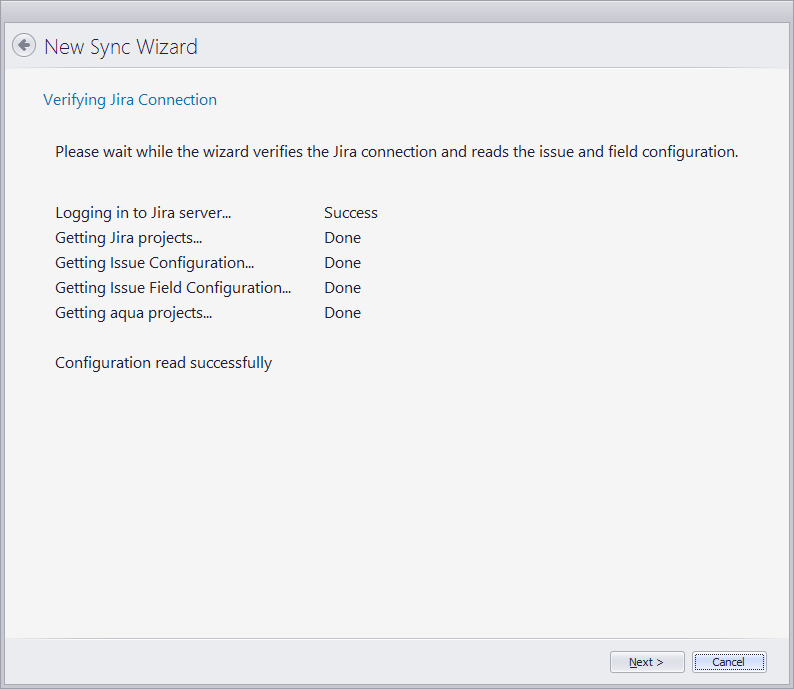
The SyncConfigurator now receives all necessary information of your Jira and aqua projects. Click on Next.
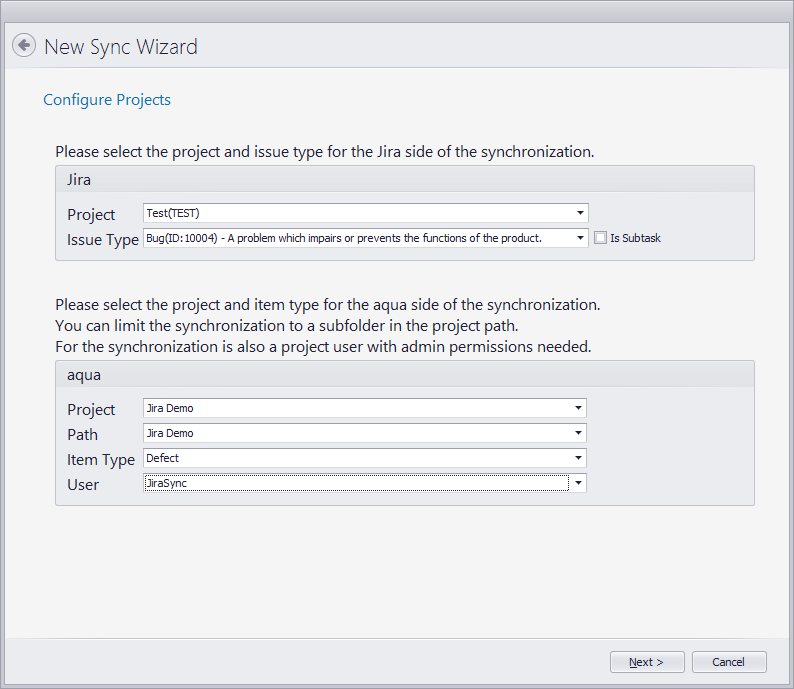
Select, which projects and item types should be synced. First, select a Jira project and the Issue Type. You can also Sync Subtasks. Learn more about the synchronization of Subtasks here.