Work with the SyncConfigurator
Start the SyncConfigurator and log in, using your personal aqua user.
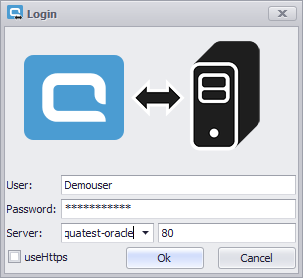
Enter your credentials and your server name or IP. Enter the port and decide whether to use HTTPs or not. If everything is correct, click 'Ok' or press Enter.
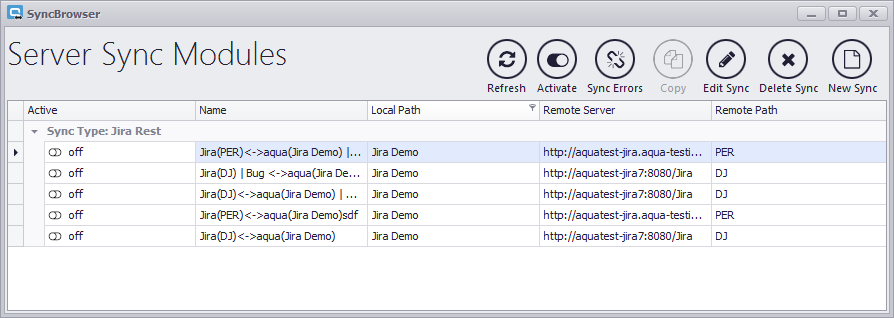
The SyncConfigurator will open. Here you see existing syncs with basic information. You can activate or deactivate syncs, edit them, delete them, create new syncs or show the sync errors of the sync.
De-/Activate Syncs
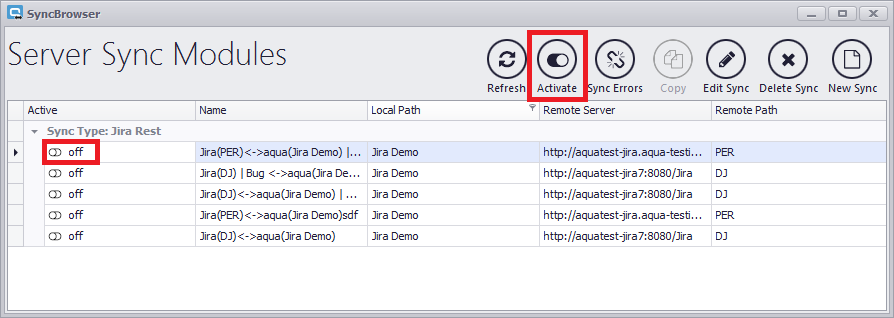
To activate or deactivate existing syncs, you can either click on the switch symbol next to the name of the sync, or select a sync and click on 'Activate'.
Sync Errors
To see sync errors, click on 'Sync Errors'. Here you will find all sync errors and have the option to fix them.

A new window opens with a list of sync errors. Per default the checkbox for 'Only failed items' is checked. Thus, only errors will be shown. If you uncheck the box, there will be an entry for all times an item was synced. You can use this as sync log. You can change the value for 'Number of entries'. If you type '0', all sync errors will be listed.
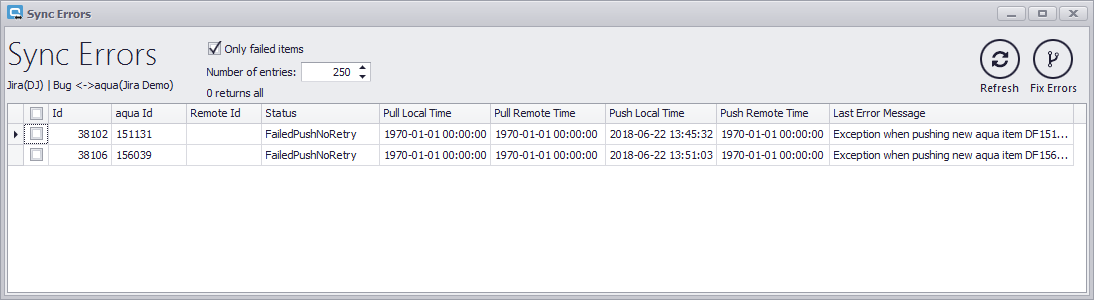
To see the full exception message, click in the cell of it. You can now expand the message, and analyze, where the error comes from.
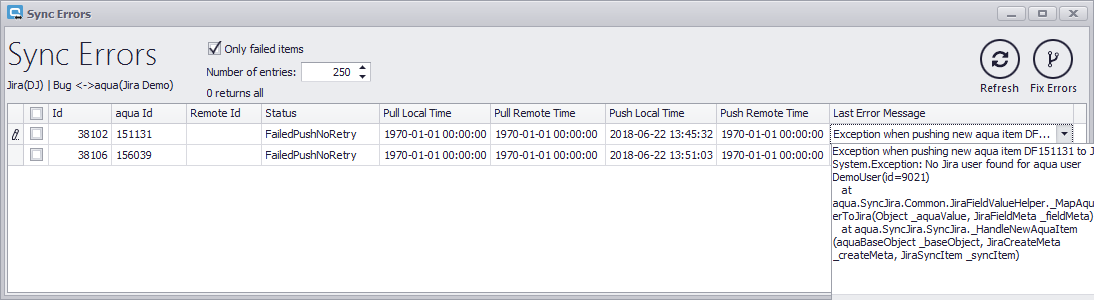
In this example, a user is missing. To fix this error, you can now add the Jira user with the mail and username. Afterwards you can select this error in the Sync Errors view and click on 'Fix Errors'. Thus, the error will be fixed automatically and the item will be pushed again. Learn more about common sync errors in this topic.
Edit Sync
You can edit an existing sync if something has changed. For example, if you have new field values, you can add them by editing the sync.
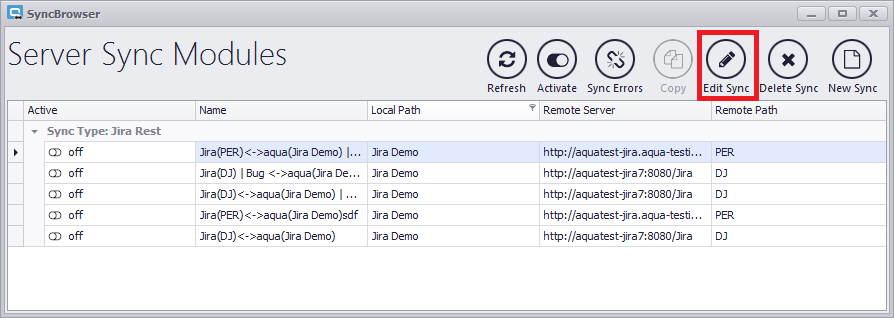
A window will open where you can change everything you did when creating the sync.
Delete Sync
If you do not need your sync anymore, you can delete it.
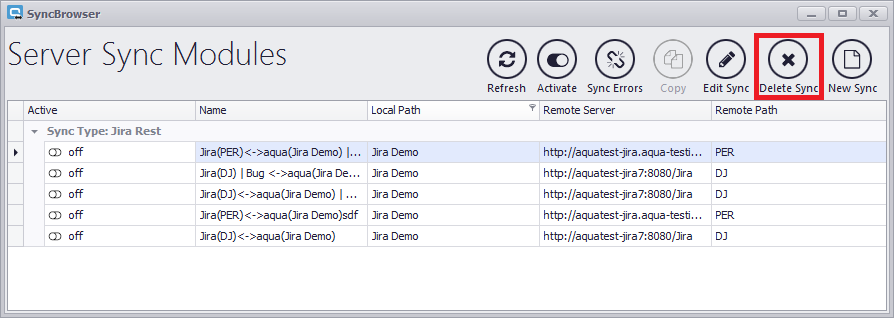
Deleted syncs can not be restored. Please only delete a sync when you are sure you will not need it later on.