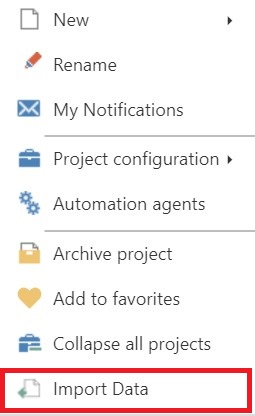
Import
From the context menu of a project or folder, you can import items from an Excel file directly into the selected project or folder.
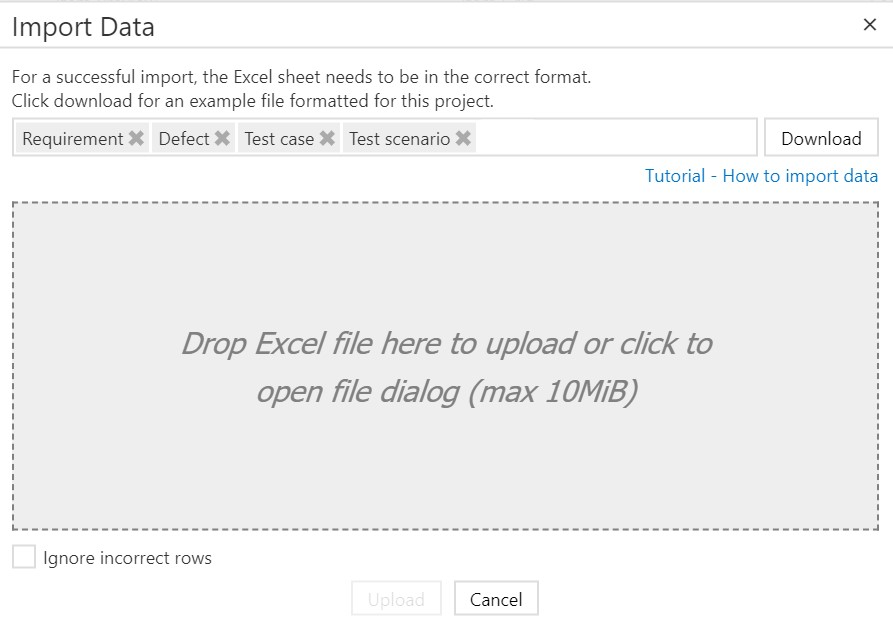
In the import dialog you can first download a sample file in the appropriate format for the selected project. There you can specify which items you want to import. For each item type, a worksheet is then created in Excel in which you can insert the data you want to import. Note: if you select only test scenarios, a worksheet for test cases will be added to the sample file, because the import of test scenarios always requires the import of the corresponding test cases at the same time.
You can then replace the sample data in all worksheets in the sample file with the data you want to import. Attention: please replace/delete all sample data in all tabs of the Excel file before importing, otherwise this data will be imported as well. The items from the sample data will always have the name "string" which allows you to filter and delete them in the item browser of the navigation if they were imported mistakenly.
You can then simply drag the customized sample file into the gray area of the import dialog or search and select it by clicking on this area. You can use the checkbox "Ignore incorrect rows" to specify that all valid items in your file should be imported and invalid ones should be ignored. If the checkbox is not selected, the import will be aborted without importing anything if some of the content is incorrect.
Important notes for the import:
All item types:
-
The ID column must always be present and must have a unique value for each item in the import file
-
Please note that the ID is not imported to aqua and is only used to uniquely identify the items in the Excel file. Every item in aqua will get a unique aqua ID in the usual format.
-
The format of the ID does not necessarily have to be the same as the ID format in aqua (e.g. TC000123) and can for example simply increment over all items in the import file
-
Dependencies can be entered in the Dependencies column and always refer only to the IDs of items from the import file
-
If there is more than one dependency, the IDs must be separated by semicolons
-
For multi-select fields, the following format must be used: "Value1; Value2; Value3" (Important: always insert a space before the next value after the semicolon)
-
For user fields, such as "Assigned to", you must use the following format: "Last name, first name" or "email-address". If there are several users with the same first and last name, either the user name must be added in brackets ("Last name, first name (user name)") or the email-address has to be used
Requirements:
-
In the Hirarchy column you can specify the hierarchy between requirements and sub-requirements by specifying the IDs of the parent requirements from the import file in the following structure: "Requirement/Subrequirement/Subrequirement" (for example, RQ1/RQ2 in the Hirarchy column of the requirement with ID RQ2 and RQ1/RQ2/RQ3 in the Hirarchy column of the requirement with ID RQ3)
Defects:
-
Defects can contain several description fields, notes, solutions etc., which are called enclosures. These must each be in a separate row in the import file and are assigned to the correct defect via the ID (i.e. all enclosures for the same defect must have the same value in the ID column)
-
In the column "Type (enclosure)" the type of enclosure must be entered. The following can be entered here: "Description" (for a description), "Note" (for a note), "ReplicationProcedure" (for a replication procedure) and "Resolution" (for a resolution)
-
In the column "Create date (enclosure)" you should enter the creation date of the enclosure
-
In the "Editor (enclosure)" column you should enter the creator of the enclosure as follows: "Last name, first name" or "email-address". If there are several users with the same first and last name, either the user name must be added in brackets ("Last name, first name (user name)") or the email-address has to be used
-
In the column "Text (enclosure)" the content of the enclosure must be entered
Test Cases:
-
For test cases, all test steps must be in a separate row in the import file and are assigned to the correct test case via the ID (i.e. all test steps for the same test case must have the same value in the ID column)
-
In the column Name "(test step)" the name of the test step can be entered
-
In the column "Instructions (test step)" the instruction of the test step can be entered
-
In the column "Expected Results (test step)" the expected result of the test step can be entered
-
In the column "Type (test step)" the test step type can be specified. "Condition" for a condition and "Step" for a step
Test Scenarios:
-
Test scenarios must always be imported together with the test cases that you want to include in the scenarios
-
For each test case within a testscenario one row has to be added in the test scenario tab with the same value in the ID column in order to match them to the same test scenarioIn the column "Test case id (test case)" the ID matching the desired test case from the test case tab should be entered
-
In the column "Tested version (test case)" the tested version within the test scenario can optionally be entered
-
In the column "Tester (test case)" you can optionally enter the tester within the scenario as follows: "Last name, first name" or "email-address". If there are several users with the same first and last name, either the user name must be added in brackets ("Last name, first name (user name)") or the email-address has to be used
-
All other columns which refer to the scenario, e.g. the scenario name, are only allowed in the first row for each scenario and must be empty for all other entries (i.e. the other test cases in the scenario)
Limitations:
-
Value sets for test cases cannot be imported
-
Embedded test cases cannot be imported
-
Discussions in requirements cannot be imported
-
Attachments can only be imported via the desktop client
-
Images in rich text fields can only be imported via the desktop client