Creating an Automation Agent
To run an automated test case, a corresponding aqua agent must be configured. Information on where to find the agents can be found here. Each agent has an individual access code. The code is generated in aqua and assigned to the agent.
Retrieving an Access Key
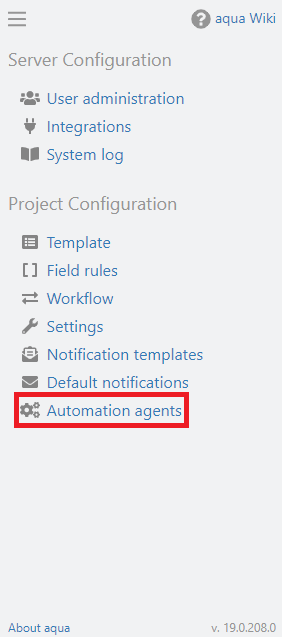
To retrieve an access key, click on File in the main window, then select 'Automation agents'.
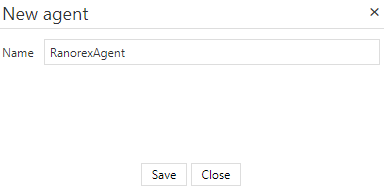
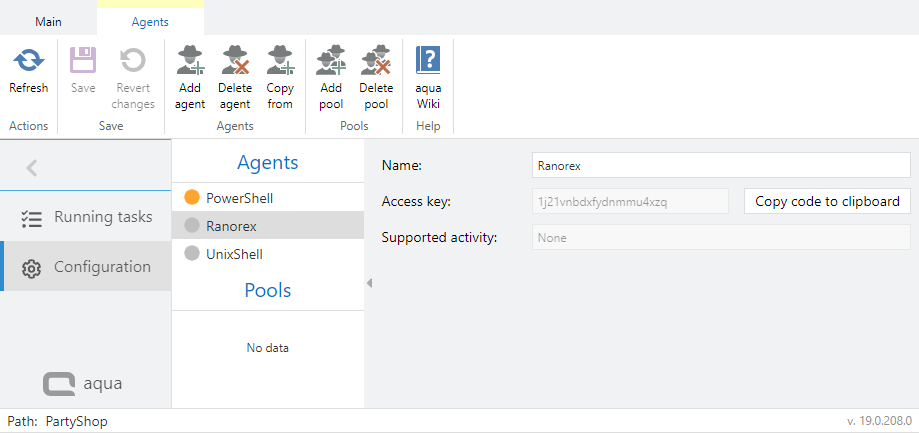
Click on 'Add Agent' in the ribbon and choose a name for the new agent.
An access code is automatically generated and is required for configuring an agent successfully. To do this, copy the access code to the clipboard or write it down for later use. The access code is used as an identifier to distinguish several agents properly. You must never configure two agents with the same access code.
Configuring an agent
An XML file can be found in the folder where the agent is located, e.g. aquaAgentRanorexGui.exe.config or agent.properties.
The generated access code must be entered into this file.
The corresponding position is highlighted in the following excerpt:
<?xml version="1.0"?>
<configuration>
<appSettings>
<add key="agentCode" value="os99axfnqv6u1ujfm79m"/>
<add key="aquaServiceUrl" value="http://aquaserver/aquaAPI/aquaAgentWebService.asmx"/>
<…
</startup>
</configuration>
Click on 'Running Tasks' to monitor the status of a currently executed automated test case.