Creating an Automation Agent
To run an automated test case, a corresponding aqua agent must be configured. Information on where to find the agents can be found here. Each agent has an individual access code. The code is generated in aqua and assigned to the agent.
The agents can then be installed on any computer as long as there is a connection to the aqua server. The agents then simply communicate between aqua and the respective automation tool, start test executions and return the results back to aqua.
Retrieving an Access Key
To retrieve an access key, select your project in the project browser and click on the configuration menu in the upper left corner of the aqua header 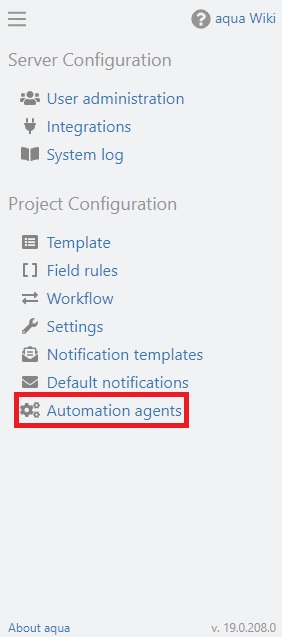
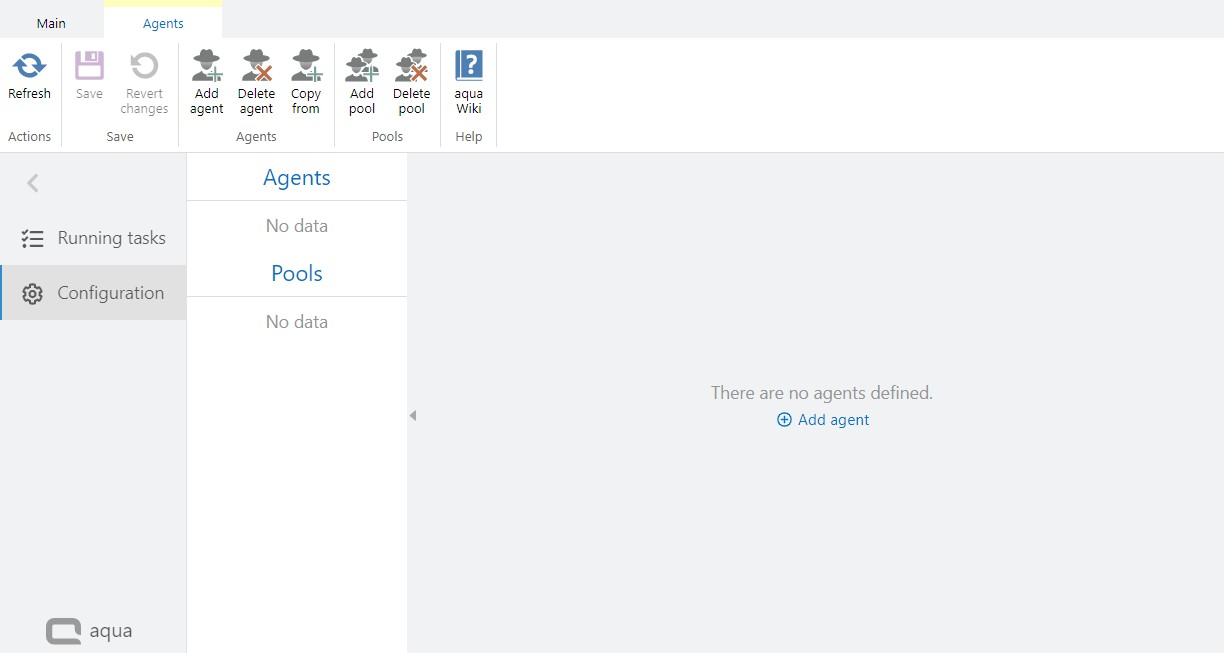
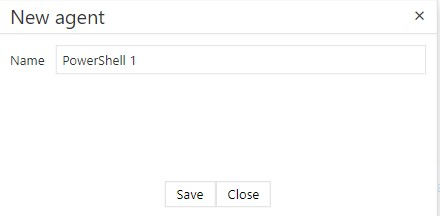
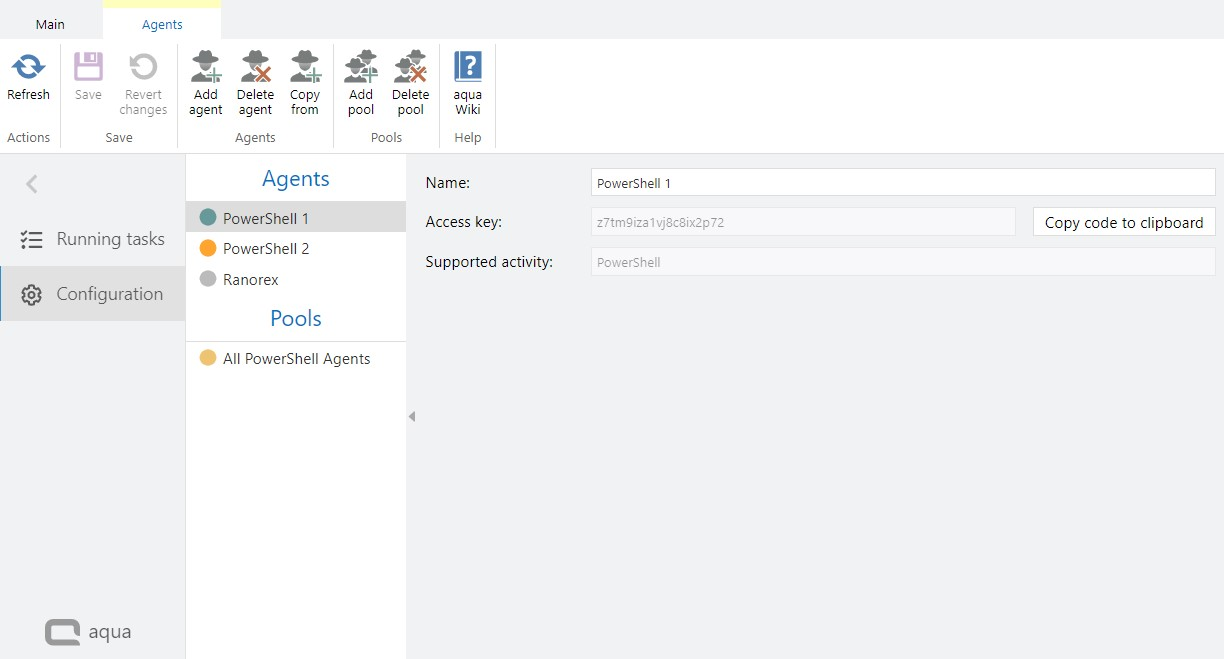
Click on Add agent in the ribbon and choose a name for the new agent.
An access code is automatically generated and is required for configuring an agent successfully. To do this, copy the access code to the clipboard or write it down for later use. The access code is used as an identifier to distinguish several agents properly. You must never configure two agents with the same access code.

Configuring an agent
The access code is required for the configuration of the agents. It must be included in the config file of the corresponding agent.
The config file can be found in the same folder where the agent is located, e.g. the aquaAgentPowerShell.exe.config for PowerShell or aquaAgentRanorexGui.exe.config for Ranorex.
The generated access code must be entered into this file. In addition, further configurations can also be made in this file, depending on the respective agent type. In addition to the agentCode, the aquaServiceUrl is also important in most agents (the correct link can also be found on the aqua landing page in the agents section). The correct aqua server name or server IP address must be entered there.
The corresponding positions are shown in the following excerpt using the PowerShell agent as an example:
<?xml version="1.0"?>
<configuration>
<appSettings>
<add key="agentCode" value="84f0voteb5xtym56p4lc" />
<add key="aquaServiceUrl" value="https://aquaServerName/aquaAPI/aquaagentwebservice.asmx" />
<...
</appSettings>
...
...
</configuration>
If you have configured the agent correctly, you can start the agent via the exe file. In the window that then opens, the connection status and other log messages are displayed.
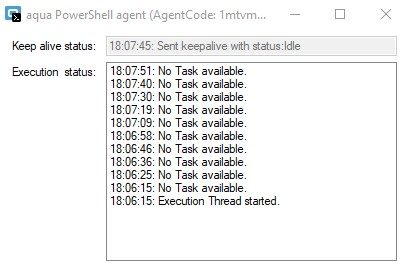
In the Automation agents section in aqua, a green dot is displayed for this agent if the connection is successful (the view may need to be updated once). If no initial connection can be established, the dot is shown in gray. If a connection has been established at least once, but now there is no more connection, an orange dot is displayed. If there is no connection, check if the agent was started, if error messages are displayed in the agent and if there is a connection to the aqua server at all. To run an automated test case with this agent the agent must be started and configured correctly.
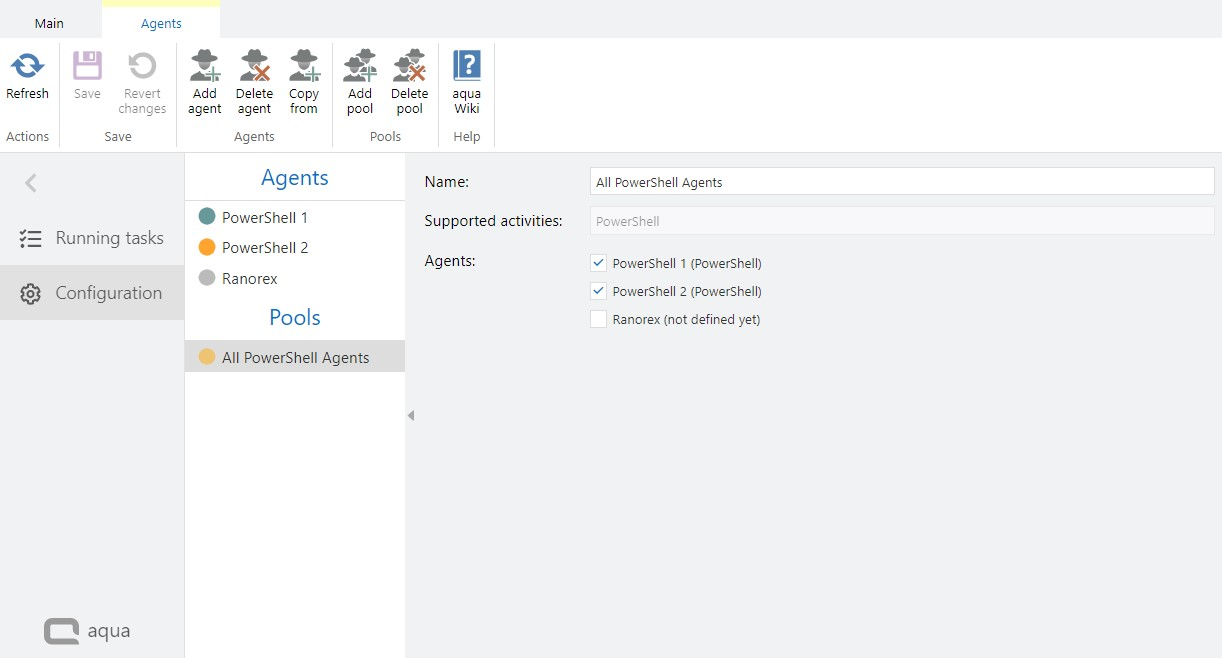
Agent Pools
In the Pools section, you can create an agent pool containing multiple agents. This pool can then be selected during a test case execution or test scenario execution and uses the correct agents for the respective steps or test cases.
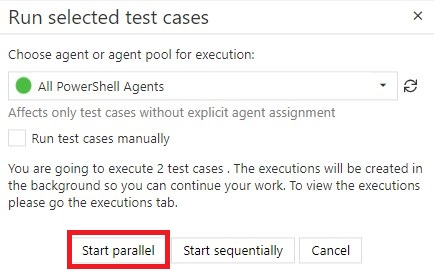
You can also distribute test scenarios with many test cases to several agents and execute them in parallel. This can be defined at the start of the execution.
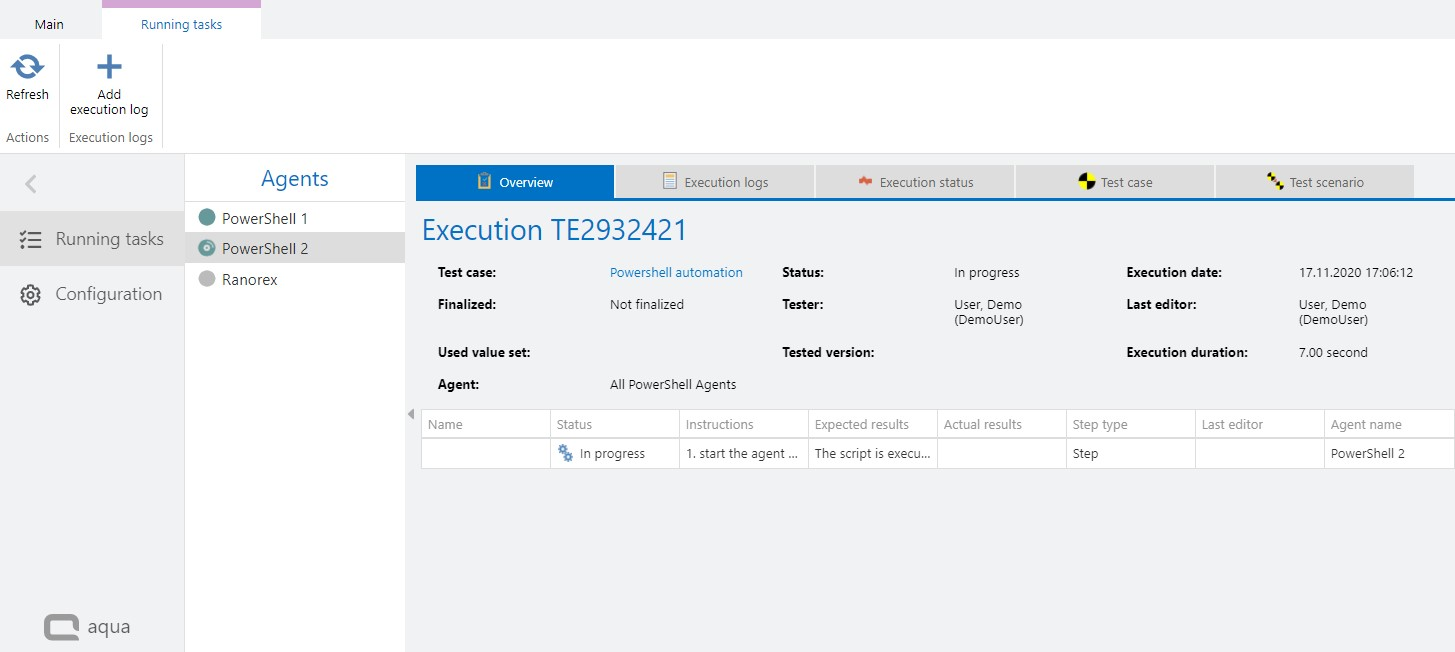
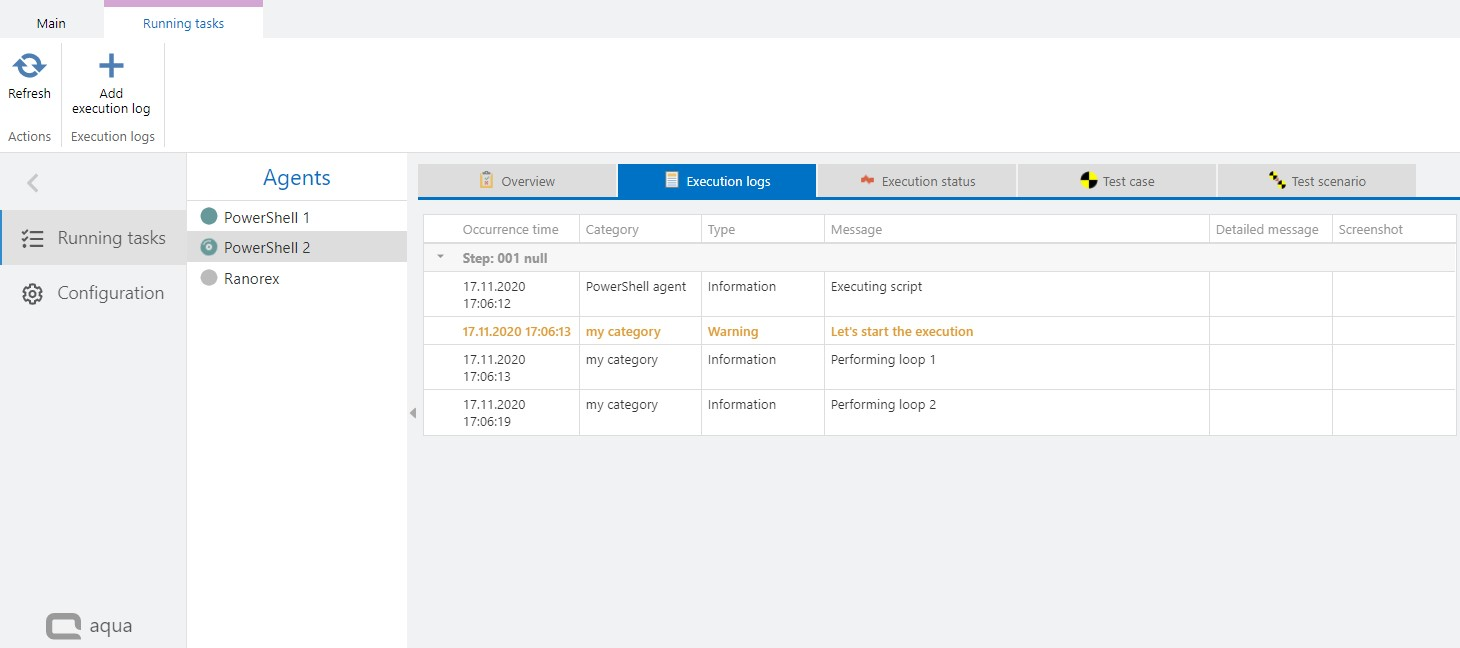
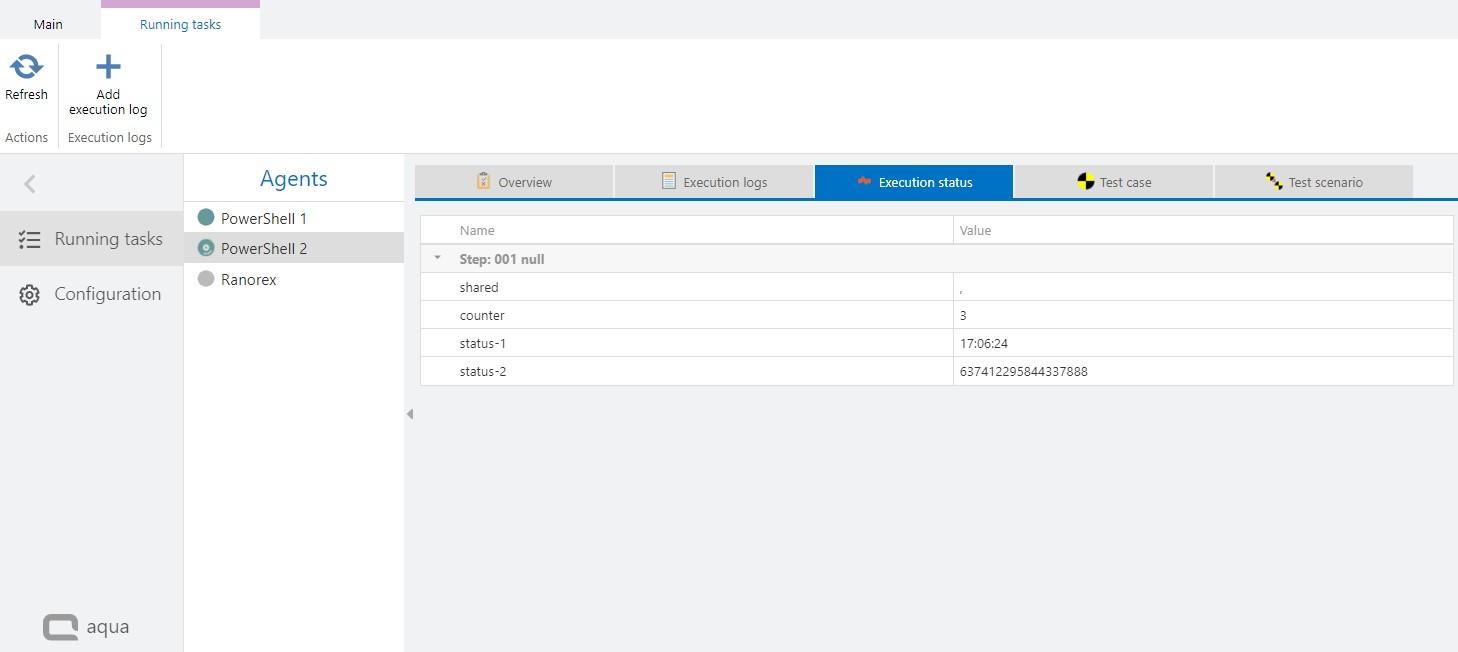
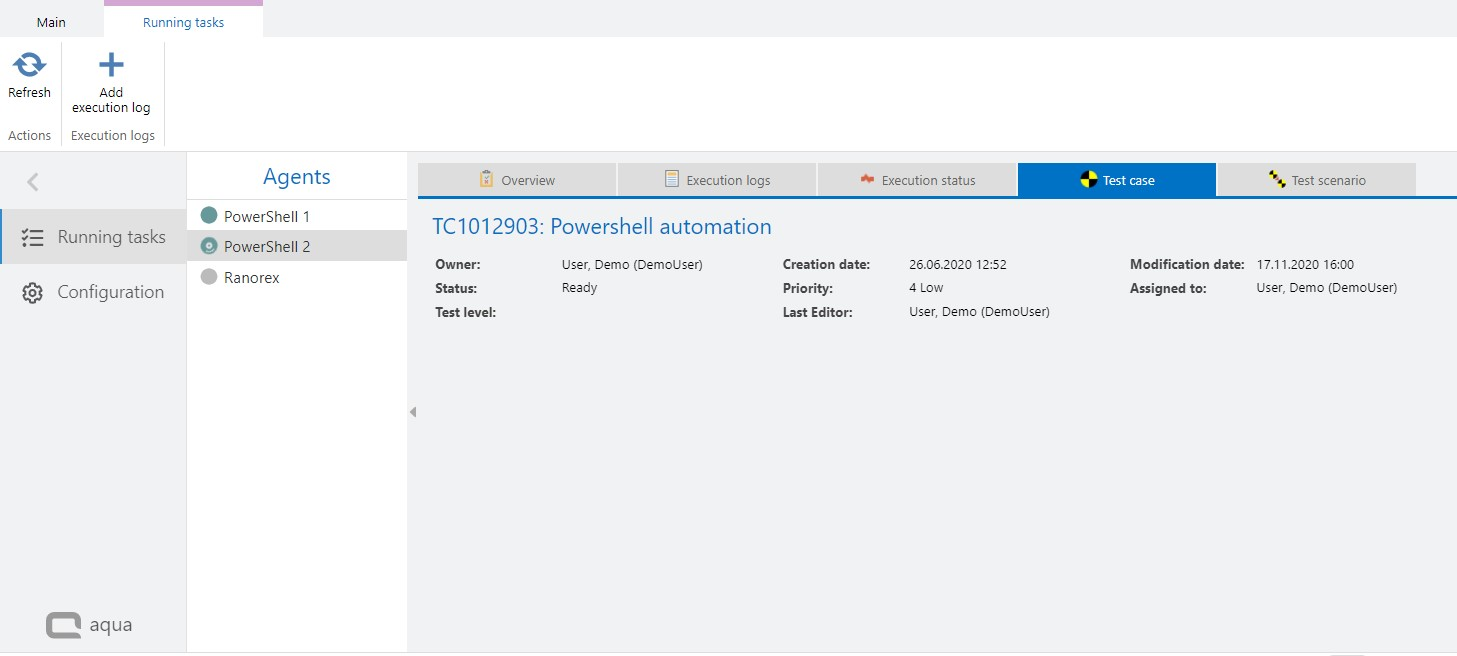
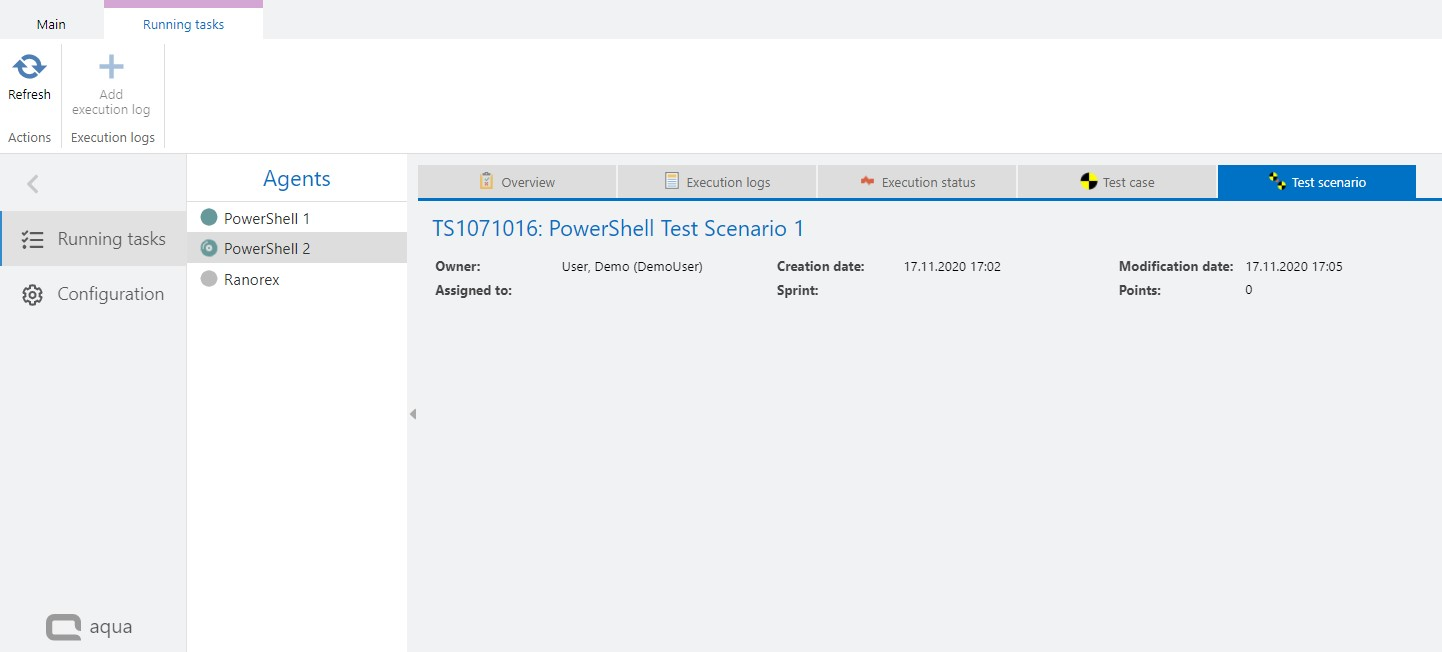
Running Tasks
When an automated test is running, you can monitor the execution status by clicking on Running tasks. Here you can see the current status of your execution and the detailed execution logs or details of the test case or test scenario that is being executed. The execution logs can of course also be opened directly in the respective test case / test scenario during or after execution.